You’ve got an old fence with peeling or flaking paint, and you’re wondering how to restore it to its former glory. Before you start slapping on a fresh coat, take a closer look at the fence’s condition. Check for structural issues like rot or warping – you don’t want to waste time and resources on a fence that’s beyond repair. Once you’ve given it the green light, you can move on to the next steps. But where do you go from here?
Assessing the Damage
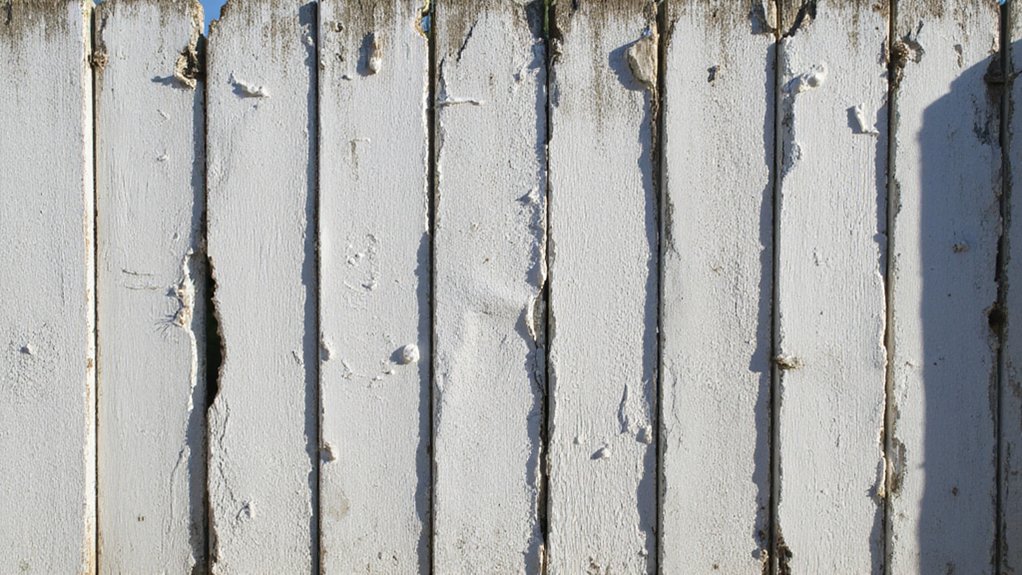
Several areas of peeling or flaking paint on your old fence can be a formidable sight, but before you start scraping or repainting, take a closer look to evaluate the damage. Assessing the paint condition is essential in determining the extent of the repair.
Inspect the fence structure, paying attention to any signs of rot, cracks, or warping. Check for any loose or missing boards, and inspect the posts and rails for stability. Take note of the areas where the paint is peeling or flaking, and identify the underlying cause, whether it’s moisture, UV damage, or poor adhesion. By meticulously examining the damage, you’ll be able to develop an effective plan to repair and restore your fence to its former glory. Consider consulting a trained certified company for professional assessment and durable restoration solutions.
Preparing the Fence for Repair
Now that you’ve assessed the damage, you’re ready to start preparing your fence for repair. Begin by inspecting the fence condition, paying close attention to areas where peeling or flaking paint is most pronounced. Identifying problem areas will help you prioritize your repair efforts and guarantee a more efficient process.
Take note of any loose boards, rotten wood, or rusty metal components that may need replacement. Check for signs of water damage, insect infestation, or mildew, as these can weaken the fence’s structure. Make a mental or written note of the materials and tools you’ll need to address these issues. For professional assistance with exterior painting projects like fences, consider hiring experts who offer high-quality finishes.
Removing Old Paint and Debris
You’ll need to strip away the old, flaking paint and debris to create a solid surface for new paint or stain to adhere to. Start by brushing off loose paint flakes and debris with a stiff-bristled brush or broom. Be gentle to avoid damaging the underlying wood.
Next, use a pressure washer or garden hose to clean the surface thoroughly, removing any dirt, grime, or remaining paint particles. Make sure to use a wide fan tip and keep the nozzle at least 12 inches away from the fence to avoid damaging the wood. Finally, let the fence dry completely before proceeding. This step is pivotal in ensuring a strong bond between the old surface and the new coating.
Sanding and Smoothening the Surface
With the old paint and debris removed, two hundred square feet of rough, weathered wood lies before you. It’s time to sand and smoothen the surface, addressing underlying causes of peeling paint. You’ll need to maintain the surface texture to secure a strong bond between the wood and new paint.
Start with a coarse-grit sandpaper, working your way up to finer grits to remove any remaining imperfections. Sand in the direction of the wood grain to avoid scratching the surface. As you sand, inspect the wood for any signs of rot or damage, and make repairs as needed.
Applying Primer and New Paint
As the prepared surface awaits, it’s crucial that you apply a high-quality primer to certify a strong bond between the wood and new paint, guaranteeing a durable finish. This primer will help address discoloration and create an even base for painting.
When applying touch-up primer, focus on areas where the old paint has flaked off, feathering it out towards the edges to ascertain a seamless blend. Use a high-quality brush or roller to apply the primer, working in small sections to maintain even coverage.
Once the primer is dry, you’re ready to apply your new paint. Make sure to follow the manufacturer’s instructions for application and drying times to certify a professional-looking finish. By taking the time to properly prime your fence, you’ll be rewarded with a beautiful, long-lasting result that will augment your outdoor space.
Choosing the Right Paint for the Job
Most fences require a specific type of paint that can withstand the elements and adhere well to the underlying surface. When selecting quality paint, you’ll want to regard the fence’s material, its exposure to sunlight, rain, and snow, as well as the local climate.
Evaluating paint suitability involves checking the label for key features such as durability, water resistance, and UV protection. You may also want to look for paints specifically designed for outdoor use or those labeled as “fence and barn” paint. Additionally, think about the color and finish you want to achieve, as well as any local regulations or homeowners’ association rules.
Preventing Future Peeling and Flaking
How can you guarantee that your newly painted fence remains in pristine condition for years to come? By taking proactive measures to prevent peeling and flaking, you’ll enjoy a beautiful, protected fence for a long time.
To safeguard your fence remains durable and resistant to the elements, focus on these essential steps:
- Apply a high-quality primer to create a strong bond between the paint and the fence material.
- Choose a paint specifically designed for outdoor use, with built-in weather protection and moisture control.
- Regularly inspect your fence for signs of wear, addressing any issues promptly to avert further damage.
- Trim back nearby vegetation to reduce moisture accumulation and promote airflow.
- Consider applying a clear sealant to shield your paint job and make future cleaning easier.
Frequently Asked Questions
Can I Use a Power Washer to Remove Old Paint and Debris?
You’ll need to exercise caution when using a power washer to remove old paint and debris, ensuring safety by maintaining a safe distance and wearing protective gear, as its effectiveness depends on the right pressure and technique.
How Do I Handle Lead-Based Paint on an Old Fence?
When handling lead-based paint on your old fence, you’ll need to test for lead paint first, then carefully contain and dispose of lead-based paint properly to safeguard safety; don’t skip these essential steps to avoid potential health risks.
Will New Paint Adhere to a Previously Stained Fence?
When you’re planning to paint over a previously stained fence, you’ll need to ascertain the new coat adheres well. You’ll have to assess the stain’s compatibility and apply a prime coat to create a strong bond, guaranteeing a durable and long-lasting finish.
Can I Paint Over Rusted Metal Fence Posts?
You can paint over rusted metal fence posts, but first, you’ll need to prime the posts with a rust converter or rust remover to stabilize the surface, then apply rust-inhibitive paint to guarantee a durable, long-lasting finish.
Do I Need to Replace the Entire Fence if Peeling Is Widespread?
You don’t necessarily need to replace the entire fence if peeling is widespread; assess the condition of each section, and investigate partial replacement options to salvage still-sturdy components, minimizing waste and preserving your fence’s structural integrity.