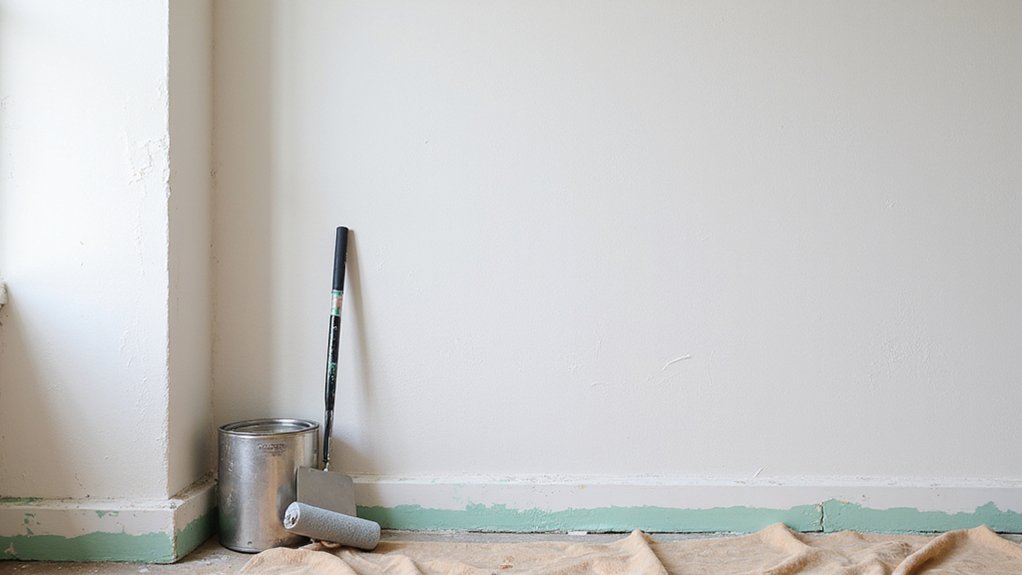
You’re about to initiate a transformative expedition, and it’s vital to get it right from the beginning. Painting over wallpaper can be a formidable task, but with the right approach, you’ll achieve a seamless, professional finish. Before you even consider applying paint, you need to prepare your walls for the makeover. Take a closer look at the wallpaper’s condition, and address any issues – it’s the key to a successful outcome.
Prepare Your Walls for Painting
Your walls, once a canvas of colorful patterns and designs, are now ready to be altered with a fresh coat of paint. Before you begin, take a close look at the surface imperfections. Assess the condition of your walls to identify areas that need extra attention.
Check for bumps, ridges, or unevenness that could affect the final result. You’ll want to smooth the rough spots to guarantee a uniform finish. Use a putty knife or sandpaper to gently scrape away any protrusions. Don’t forget to wipe away dust or debris with a damp cloth. For best results, consider consulting professionals who specialize in complete re-painting services to ensure a flawless transformation of your space.
Fix Holes and Damaged Areas
After smoothing out the surface, turn your attention to holes and damaged areas that need repair. To fix these imperfections, you’ll need to patch crumbling areas and conceal unsightly blemishes.
Start by applying a thick layer of spackling compound to the damaged area, spreading it smoothly with a putty knife. Let it dry completely, then sand it lightly to blend with the surrounding surface. If the hole is deep, you may need to apply multiple layers of compound, allowing each layer to dry before applying the next.
Once the area is smooth, use a primer to seal the repaired area and create a strong bond between the old wallpaper and new paint. This will guarantee a professional-looking finish and a surface that’s ready for painting. For a truly flawless result, consider consulting professionals who can ensure high-quality finishes for any painting project.
Remove Loose Wallpaper
As you move forward with preparing your surface for a fresh coat of paint, loose wallpaper can create an uneven canvas. To confirm a smooth finish, you’ll need to remove any loose or peeling wallpaper.
Use a putty knife or scraper to scrape off bubbles and smooth uneven surfaces. Work in small sections, applying gentle pressure to avoid gouging the underlying surface. For particularly stubborn areas, use a steamer to loosen the adhesive.
As you remove the wallpaper, take care not to damage the surface. If necessary, use a fine-grit sandpaper to smooth out any rough spots. By removing loose wallpaper, you’ll create a solid foundation for your paint job, validating a professional-looking finish.
Apply a Coat of Primer
With the loose wallpaper removed, the surface is now ready for a primer, which will help create an ideal canvas for your fresh coat of paint. It’s crucial to prime the surface thoroughly, ensuring a strong bond between the primer and paint. Utilize a quality primer specifically designed for covering wallpaper, as it’s formulated to penetrate and seal the porous surface.
Use a quality primer specifically designed for covering wallpaper, as it’s formulated to penetrate and seal the porous surface. Apply the primer according to the manufacturer’s instructions, usually with a roller for large areas and a brush for edges and corners. Make sure to cover the entire surface, but avoid over-saturating the area, as this can cause the primer to pool or run. Allow it to dry completely before moving on to the next step.
Sand the Walls
To guarantee a uniform finish, you’ll need to smooth out the surface once the primer is completely dry. Use a fine-grit sandpaper to grit the surface, feathering the edges where the primer meets the surrounding areas. This guarantees a seamless changeover and prevents any rough patches from showing through the paint.
As you sand, pay attention to any areas where the primer may have accumulated, and give those spots a bit more attention. Once you’ve sanded the entire surface, wipe down the walls with a damp cloth to remove any dust or debris. This will give you a clean slate for painting and certify a strong bond between the paint and the primer.
Choose the Right Paint
Most painting projects require a specific type of paint, and painting over wallpaper is no exception. When you’re choosing a paint, you’ll want to select an appropriate paint sheen. Matte or eggshell finishes are good options, as they’ll help hide any imperfections in the wallpaper.
Consider eco-friendly paint option, too, if you’re concerned about the environmental impact of your project. Look for paints labeled as low-VOC (volatile organic compound) or those made with natural ingredients. Don’t skimp on quality, either. A high-quality paint will adhere better to the wallpaper and provide a more even finish.
Take your time to research and choose the right paint for your project. With the right paint, you’ll be one step closer to a beautifully painted room.
Apply the Finish Coats
You’ve selected the perfect paint for your project, and now it’s time to apply the finish coats. To achieve a uniform finish, it’s crucial to control paint application. Start by loading your roller with the recommended amount of paint. Work in sections, about 4 feet by 4 feet, to maintain even coverage.
Use gentle, overlapping strokes to spread the paint evenly. Avoid applying too much pressure, which can cause the paint to seep behind the paper and create unevenness. For edges and corners, use a paintbrush to achieve a smooth, precise finish.
Apply two to three coats, allowing each coat to dry according to the manufacturer’s instructions. By following these steps, you’ll be able to achieve a beautiful, professional-looking finish that will make your space feel altered.
Frequently Asked Questions
Can I Paint Over Wallpaper Without Removing It?
Before you start painting, consider the structural integrity of your walls and identify potential issues, like loose or peeling wallpaper, to guarantee a smooth and successful painting process that makes you feel confident and proud of your work.
Will the Pattern Still Show Through the Paint?
When you paint over wallpaper, you’ll likely still see the textured patterns, especially if the wallpaper adhesion is strong; however, a good primer can help minimize visibility, allowing you to achieve a smooth finish that makes you feel proud of your DIY skills.
Do I Need to Clean the Walls Before Priming?
Before priming, you’ll want to confirm the surface preparation is perfect; proper sanding is essential to eliminate dirt, grime, and any loose particles, giving your primer a solid foundation to adhere to.
Will Primer Cover Dark or Bright Wallpaper Colors?
You’ll need to choose an appropriate primer to prevent bleed-through from dark or bright wallpaper color. A high-build, stain-blocking primer will guarantee a uniform base, allowing you to achieve a smooth, even finish.
Can I Use a Roller to Paint Over Wallpaper?
When you’re deciding whether to use a roller for paint application, consider the textured surface and potential for uneven coverage. Guarantee proper surface preparation, and you’ll be on your way to a smooth, professional-looking finish.